
 You will need:
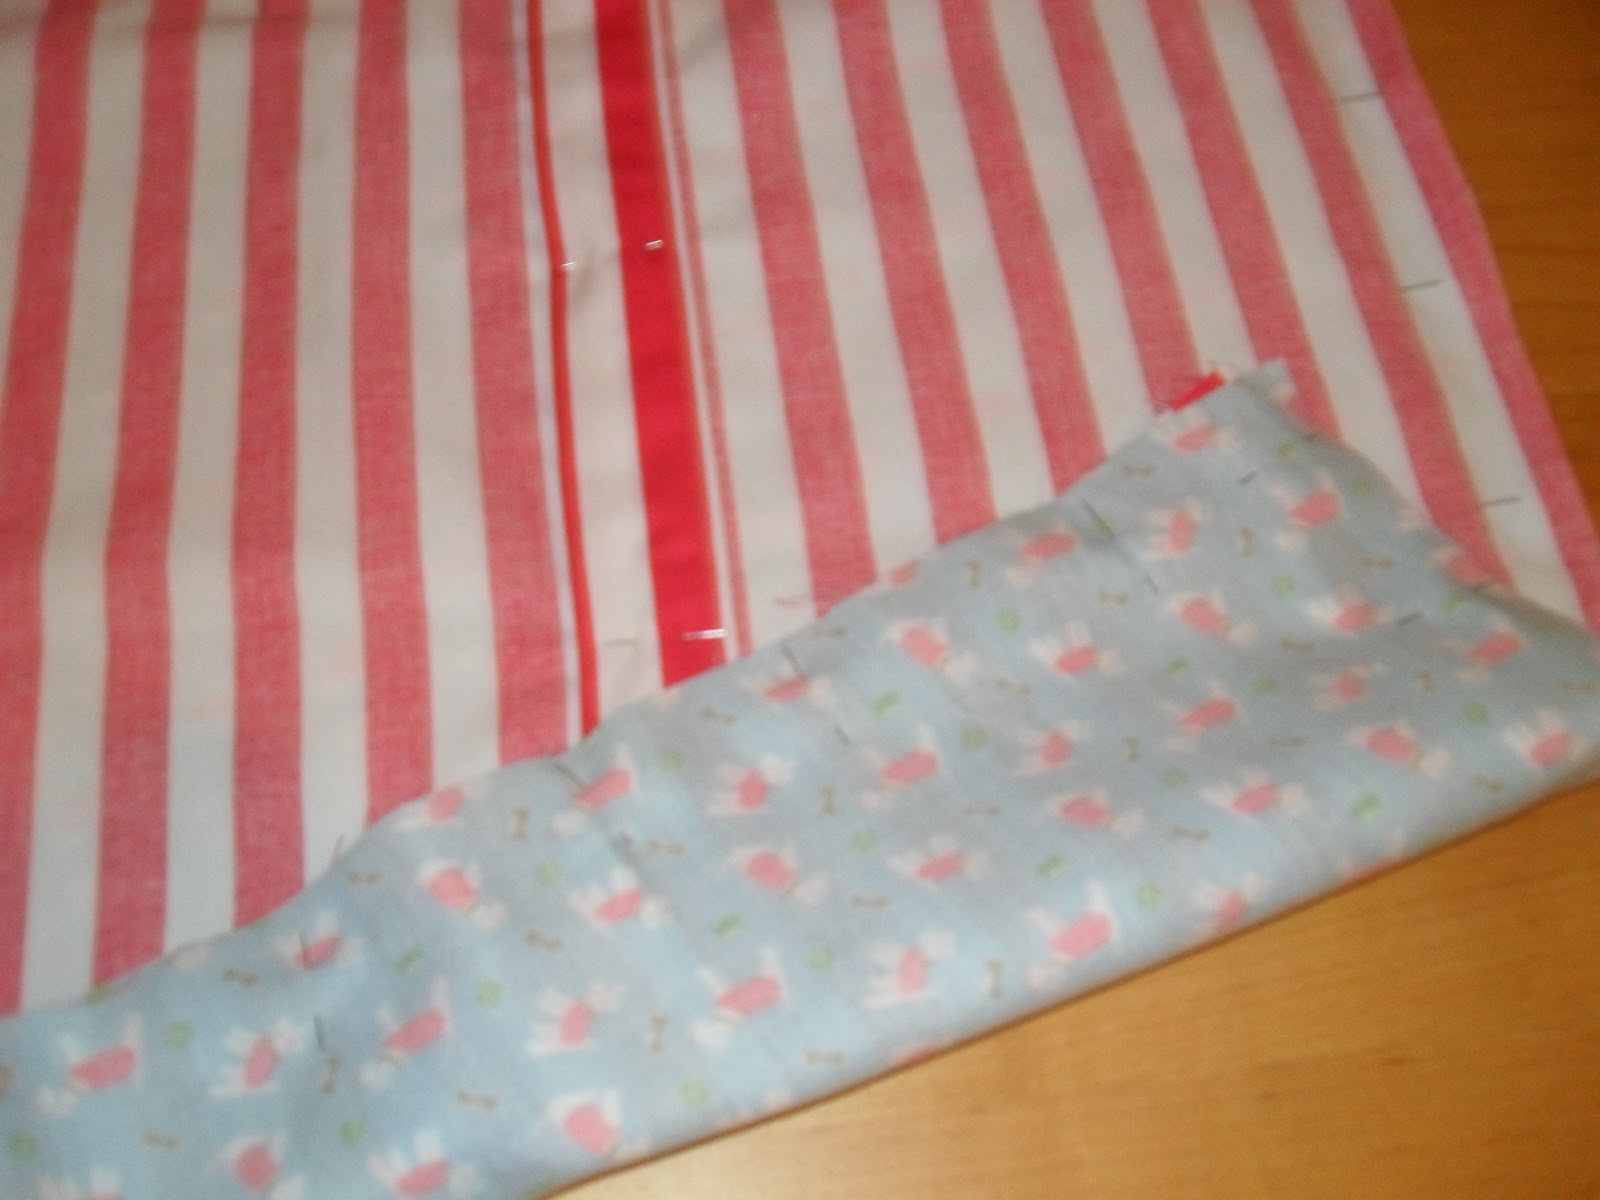
 A cushion pad, some fabric, matching cotton, pins, scissors, tape measure, pen or dressmakers chalk and 3 buttons. We used a super cute Cath Kidston dog print fabric for the front and a candy red stripe for the reverse.
Step 1
Measure the cushion pad- we used 18 inch pads (46cm square). Draw out a square on your fabric using dressmakers chalk or a pen, which is 5cm greater all the way around than the cushion pad (51cm x 51cm in our case). Cut this out. This will become the front of our cushion.
Step 2:
The back of our cushion is made from two separate pieces. They should both measure the same vertically as the front piece (51cm) but the width should be half this (25.5cm) plus 9 extra centimetres. In our case each back piece totalled 34.5cm across and 51cm down. Cut these out.

Step 3:
Put the front piece to one side. On each back piece fold in 1.5cm along the longer, vertical edge and iron this down. Now fold in another 4cm and iron down again. Stitch down along the inner vertical edge of the fold using a standard running stitch on your machine.

Step 4:
Now for the buttonholes! Arrange the buttons on one of the back pieces along the fold. We used three big buttons. Mark their positions lightly with a dot at the top and bottom of each button.
According to your machine’s instructions for making buttonholes, work the holes between the dots you have marked (extending the buttonhole slightly beyond each). Now cut the centre out of your stitched buttonhole using some sharp scissors and iron it down again.
Lay the back piece of fabric with the newly made holes to the right, over the top of the other back piece with the folds also to the right. Mark a dot through the centre of each hole onto the piece below. This is where you will stitch on your buttons. For now pin it together with the piece with the holes overlapped on the top.

Step 5:
To sew up our cushion, retrieve your front piece and lay it on the table with the right side facing up. Place the fastened back pieces over the top with the right side facing down i.e. the two right sides are facing each other. Pin all the way around and trim any mismatched edges. Machine 1.5cm from the edge all the way around.
Step 6:
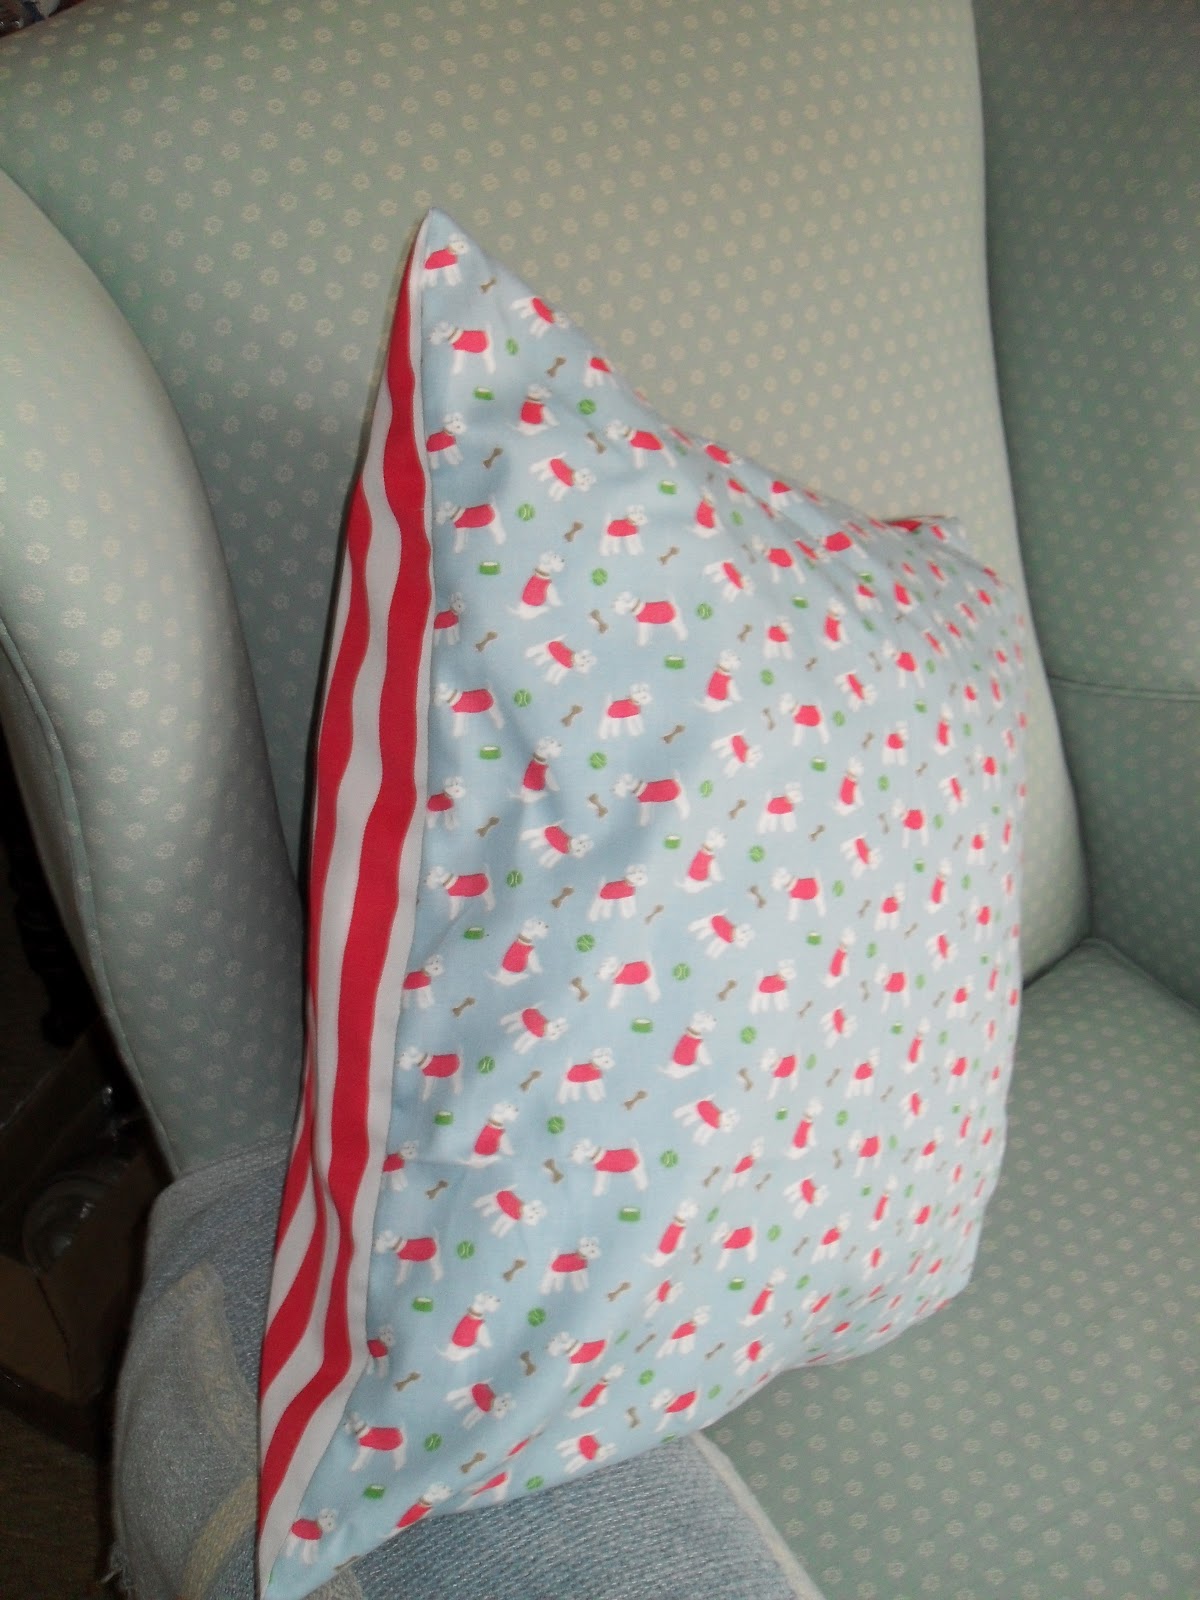
Turn your cushion cover out
Turn your cushion cover out

Sew on the buttons and insert your cushion pad!

Voilà! The perfect handmade present for Mother's Day!
Why not check out our upcoming sewing classes and take your skills to the next level!
Happy creating folks!
No comments:
Post a Comment