Friday 23 March 2012

Spring is sprung!

This week’s blog post has been written by one of our tutors, Becky. (We featured her work a few weeks ago here).

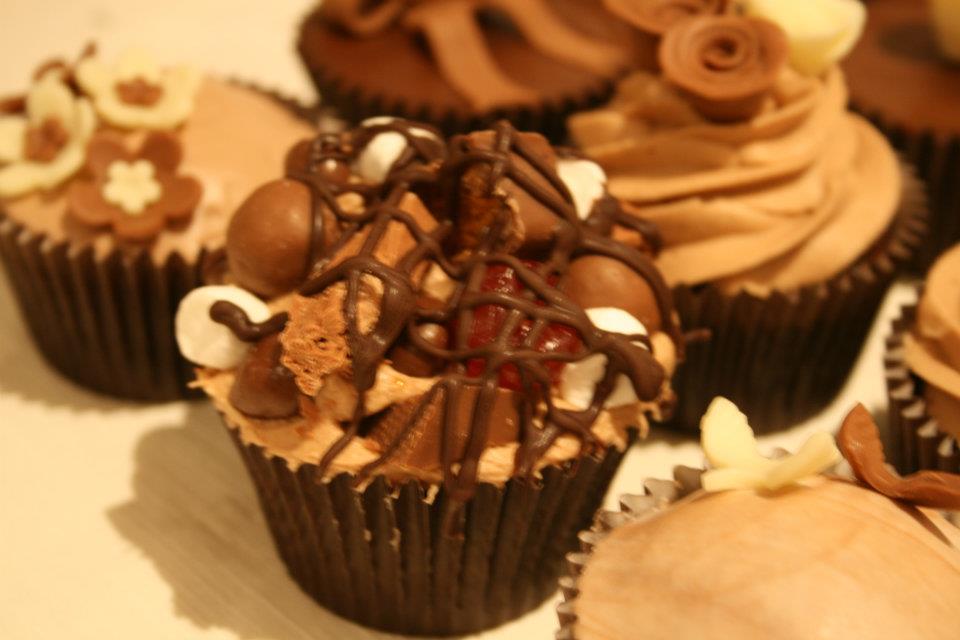
Becky will be hosting our sell-out 'springtime cupcakes' workshop next Friday in Warwick. She will show workshop attendees how to create these little beauties! Aren't they just fabulous?!


Places on this workshop sold out fast, but just in case you missed out, we thought we would bring you a special preview and show you how to make the very cute rabbit bottom cupcake at home. (It also happens to be our favourite one!)


To make Becky's rabbit bottom cupcake, you will need:


·         Non stick mat
·         Non stick rolling pin
·         Edible glue
·         Clean paint brush
·         Pink/white/brown sugarpaste (or colours of your choice)
·         A circular cutter, or use small writing nozzles for cutting smaller circles

Step 1: 
Form two balls of white sugarpaste and flatten to make two feet shape approximately 1.5cm in length


Step 2:  
Roll out pink sugarpaste and cut 2 larger circles and 3 smaller circles for the paws. Stick on using edible glue. 


Set aside to dry.

Step 3:  
Form a small ball of white sugarpaste for the rabbit’s tail. Use the end of the writing nozzle to make circle indents to create the “fluffy” look. 


Set aside to dry

Step 4:  
Form a ball of brown sugarpaste about the size of a walnut and flatten the bottom on your mat.


Step 5:
Glue the feet and the tail onto the brown body. 
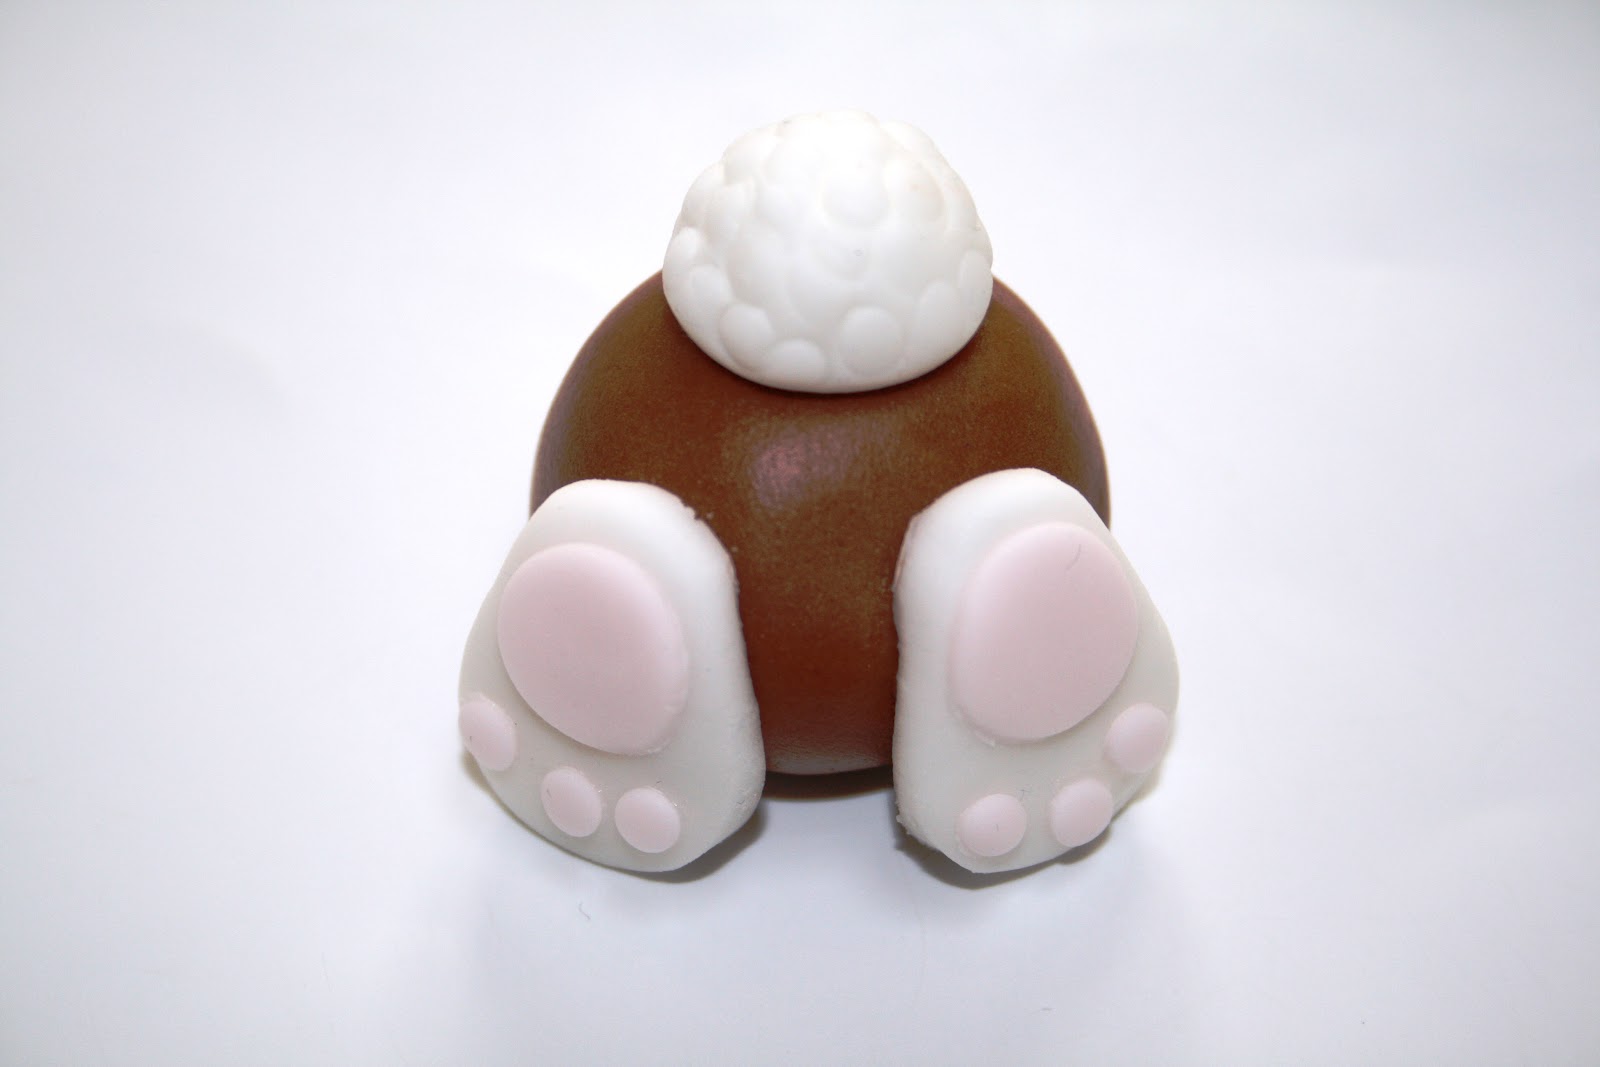

Step 6:
Pop your finished rabbit’s bottom onto your cupcake and decorate with flowers to make it pretty!


Hey presto! A very fetching rabbit cupcake! Perfect for making with the kids in the Easter holidays.


Did you know? Cupcake decorating equipment can be purchased from our website directly in the form of one of our fabulous DIY cupcake kits, or if you need something specific, we recommend checking out local business Kenilworth Baking Supplies

Happy creating! J

Friday 9 March 2012

Make it yourself… cushions!

Last week was the first sewing workshop in our Sew Sundays programme. Everyone got to grips with their machine, our 2 new Janome boys were taken for their first spin and we even conquered buttonholes! In fact, you simply wouldn't believe how professional all the cushions looked! Now, we wouldn't normally give away our workshop secrets, but as it is Mother's day soon, we thought these cushions would be the perfect handmade present for mummies everywhere! Here's how to... 

You will need:  
A cushion pad, some fabric, matching cotton, pins, scissors, tape measure, pen or dressmakers chalk and 3 buttons. We used a super cute Cath Kidston dog print fabric for the front and a candy red stripe for the reverse.


Step 1
Measure the cushion pad- we used 18 inch pads (46cm square). Draw out a square on your fabric using dressmakers chalk or a pen, which is 5cm greater all the way around than the cushion pad  (51cm x 51cm in our case). Cut this out. This will become the front of our cushion.

Step 2:
The back of our cushion is made from two separate pieces. They should both measure the same vertically as the front piece (51cm) but the width should be half this (25.5cm) plus 9 extra centimetres. In our case each back piece totalled 34.5cm across and 51cm down. Cut these out.


Step 3:
Put the front piece to one side. On each back piece fold in 1.5cm along the longer, vertical edge and iron this down. Now fold in another 4cm and iron down again. Stitch down along the inner vertical edge of the fold using a standard running stitch on your machine.


Step 4:
Now for the buttonholes! Arrange the buttons on one of the back pieces along the fold. We used three big buttons. Mark their positions lightly with a dot at the top and bottom of each button. 


According to your machine’s instructions for making buttonholes, work the holes between the dots you have marked (extending the buttonhole slightly beyond each). Now cut the centre out of your stitched buttonhole using some sharp scissors and iron it down again. 


Lay the back piece of fabric with the newly made holes to the right, over the top of the other back piece with the folds also to the right. Mark a dot through the centre of each hole onto the piece below. This is where you will stitch on your buttons. For now pin it together with the piece with the holes overlapped on the top.


Step 5:
To sew up our cushion, retrieve your front piece and lay it on the table with the right side facing up. Place the fastened back pieces over the top with the right side facing down i.e. the two right sides are facing each other. Pin all the way around and trim any mismatched edges. Machine 1.5cm from the edge all the way around.


Step 6:


Turn your cushion cover out


Sew on the buttons and insert your cushion pad! 


VoilĂ ! The perfect handmade present for Mother's Day!


Why not check out our upcoming sewing classes and take your skills to the next level! 

Happy creating folks! 

Friday 2 March 2012

Meet the tutor!

We thought it was about time that we brought you a peek behind the scenes into our very special Revival tutors.

Introducing …. Becky! Becky is one of two cake tutors that teach for RC. She runs Baked By Becky and her specialist area is cupcakes.


We thought we’d drag her away from her baking for a cuppa and a few personal questions! 

RC: So Becky, why baking?

B: I have always enjoyed baking and have several great memories of baking days with my Mum where we would make all kinds of biscuits, cakes and tray-bakes. Having given up work 2 years ago after having my second child, I caught the baking bug again and proceeded to bake cupcakes for various friends, family and my husband to take into work for his colleagues. 

RC: When did you set up Baked By Becky?

B: Nearly a year ago after baking cupcakes for my daughter’s Christening, Baked By Becky was born! I started off with the odd order and before I knew it the business had gone from strength to strength. 

RC: What’s your best seller?

B: For pure indulgence the Rocky Road is a chocoholic’s dream but the most popular flavour by far is the simple but gorgeous vanilla cupcake.


RC: What’s your most novel request?

B: I am known mostly for my novelty decorations and for tailoring each cupcake to the recipient. These ones I made for a hen-do, the bride-to-be was marrying a farmer!


RC: What do you love most about running Baked By Becky?

B: Whatever the order, the thing that spurs me on is seeing the look on someone’s face when they receive their box of cupcakes, each one made from scratch, by hand, especially for them!

You can contact Becky and order some of her favourite rocky road cupcakes or join her to learn how to create Spring Cupcakes on March 30 in Warwick or Vintage Cupcakes on April 21 in Stratford.

Yummy!